iFeature
Inventor iFeature allows you define a library of features for part documents.
Overview
If you find yourself creating the same hole pattern on multiple parts. Or the same braces in plastic parts then you should consider using iFeature. It allows you to create a feature library and share it with team members. You can save it into Vault and control who can use or edit it. A library of iFeatures is called Catalog.
Inventor comes with built-in catalogs that are good examples of what you can do with iFeatures.
How to Use an IFeature
iFeatures can be used in Part and Sheetmetal components only. They either add geometry to the current model or cut from it.
- Go to
Managetab. - Click on
insert iFeaturebutton.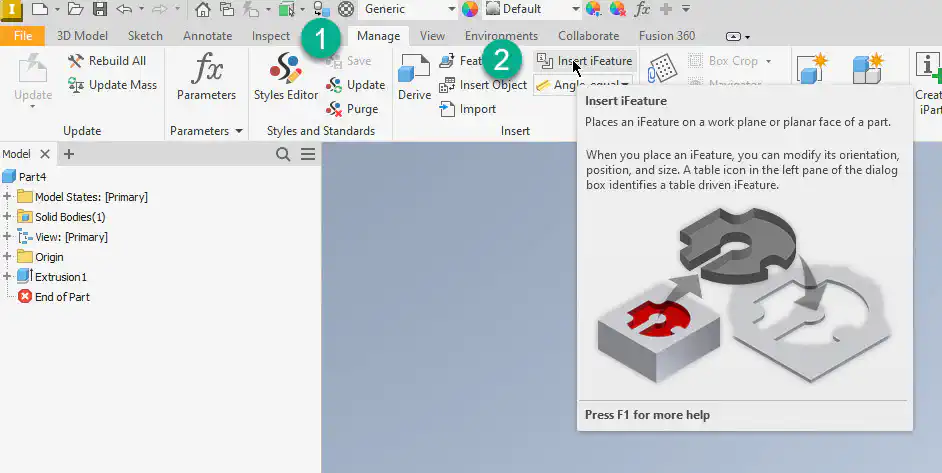
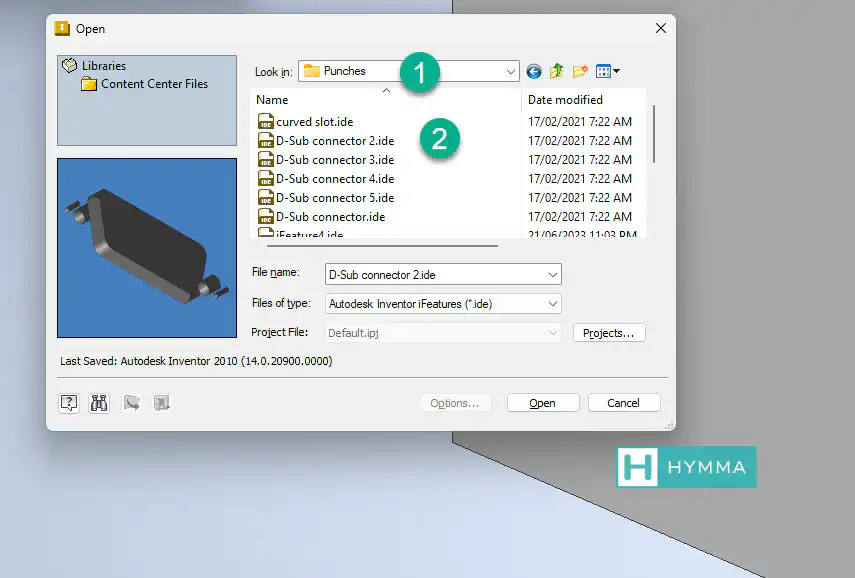
- In the window that appears browse to Punches > D-Sub connector 2.ide.
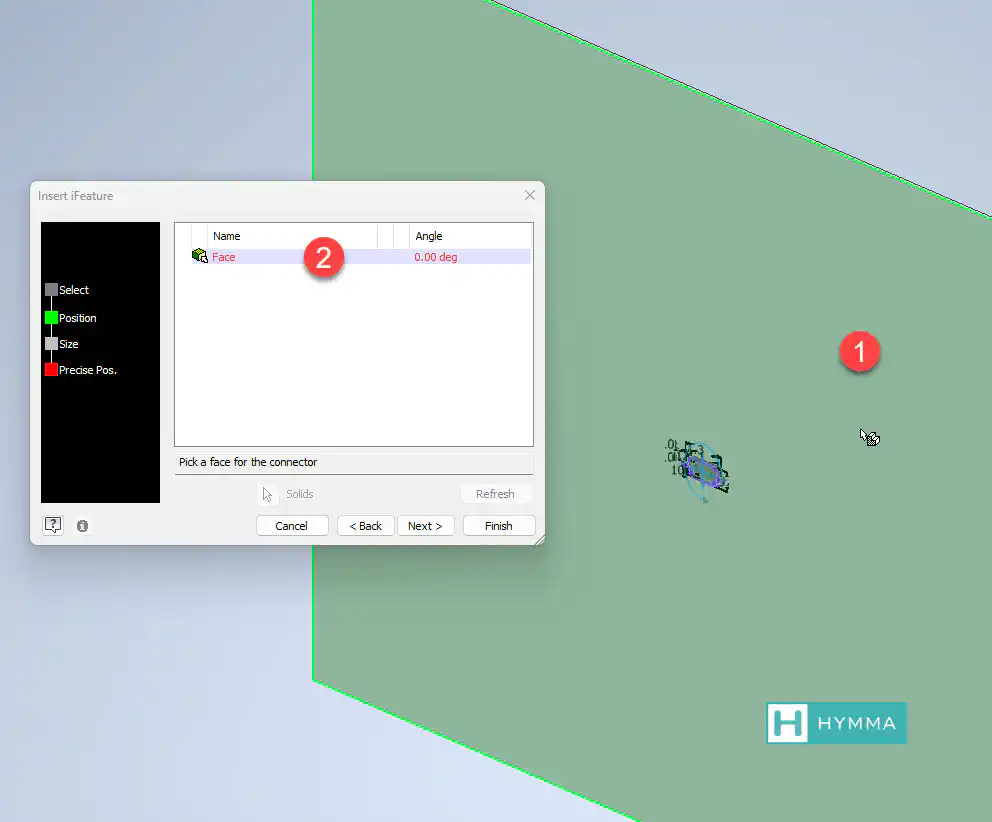
- The insert iFeature window will guide you through the process. Select on one of the faces in your 3d model.
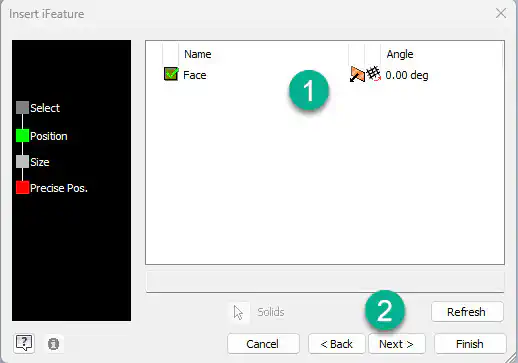
- This particular iFeature allows us to change the angle. Notice how the green checkmark appears on the left once the conditions are satisfied. In this case we had to introduce the face only.
- Next you should insert sizes for the depth and other dimensions. You can leave things as default for now.
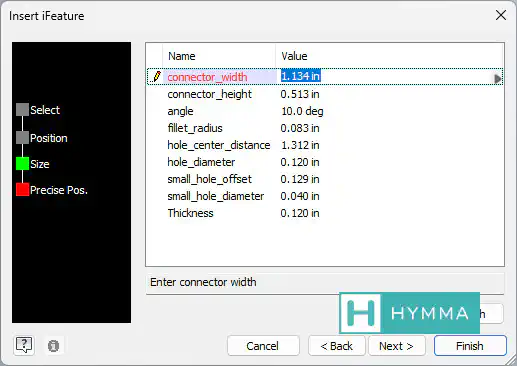
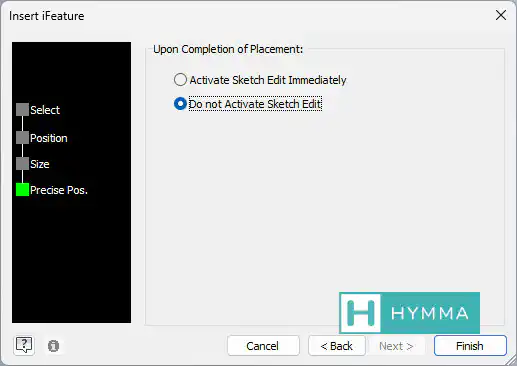
- And finally you will be prompted to either edit the sketch of the iFeature or not to edit it.
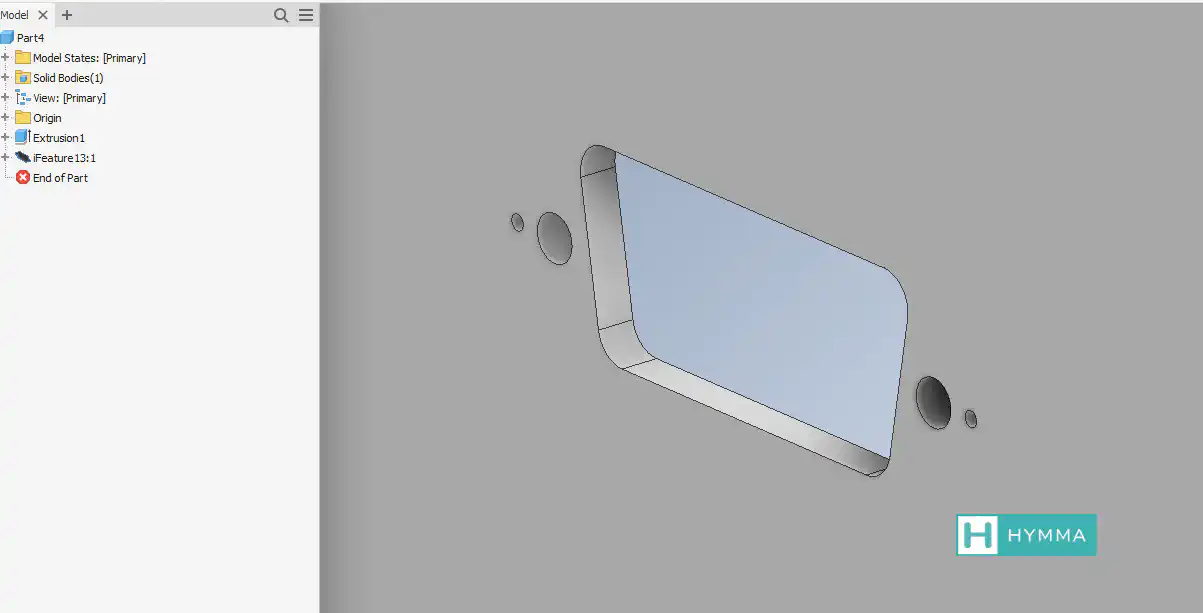
- Note the result
How to Use a Punch Tool in Sheet Metal
- Draw a
Pointsketch on the face of the sheet metal component. - Go to Sheet metal > Punch tool
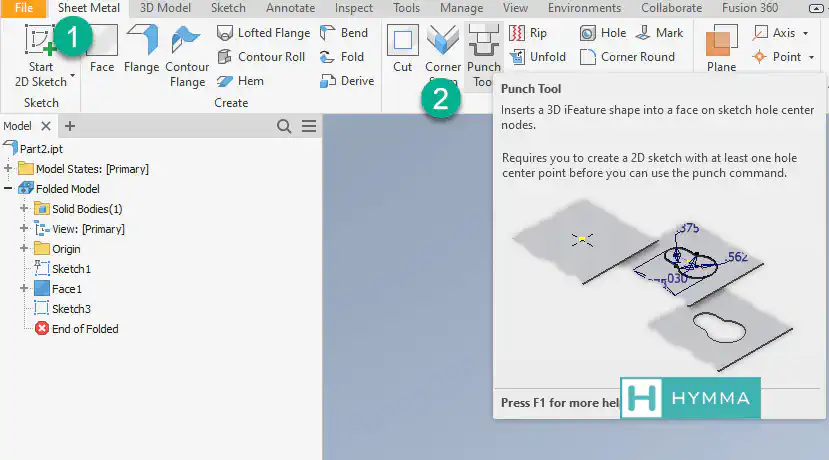
- From there in the PunchTool dialogue select
D-Sub connector 2.ide. - Select the desired Flat Pattern Punch Representation from the drop down menu.
- Go to Sizes tab and adjust the sizes to suit your model.
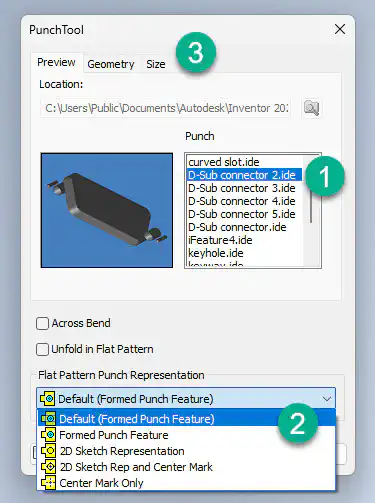
- Note the result
Conclusion
In this article I described how you can use punch tools and iFeatures in Inventor. Make sure you benchmark this article as I will update the content.